|
|
CHESS ENGINE INSTALLATION IN CHESSBASE 9
(GUI = Graphical User Interface)
Follow the steps described below:
STEP 1
Copy the chess engine to a directory on your computer.
STEP 2
Open the Chess Base 9 GUI.
STEP 3
Open any game, then click on ENGINE in the menu and click on CREATE UCI ENGINE there
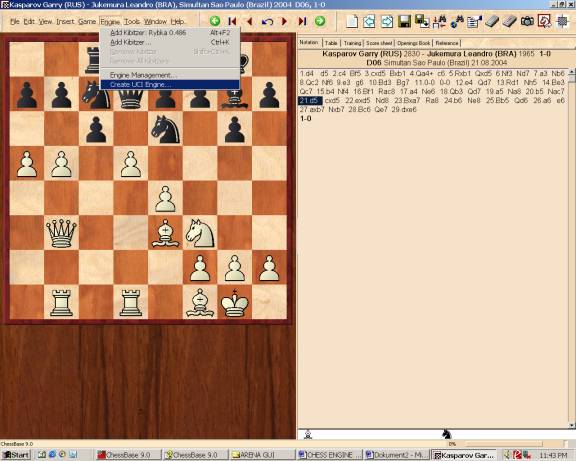
STEP 4
You will see this window. Browse for the Rybka engine.
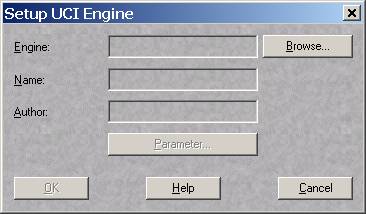

Click open and then ok. You are done with the installation.
If you see the error message "Engine: could not load" make sure that you want to install the right Rybka version (the 64-bit version needs a computer and operating system that supports 64-bit) and if there's still this error, you should try to remove the path to the Nalimov endgame tablebases in the options for the installation (restart Chessbase after removing the path). This seems to be a bug in Chessbase, it does not necessarily mean that your endgame tablebases are corrupted.
STEP 5
Now, you only have to start using an engine. To do this click on ENGINES then ADD KIBITZER.
From the window, which will appear, choose Rybka.
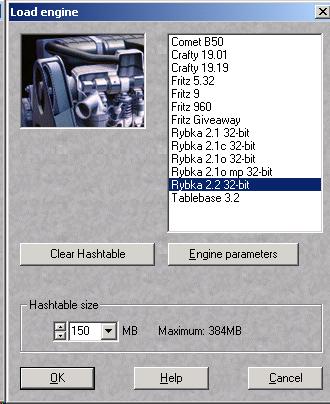
Set the size for the hash tables.
Rybka uses this memory to remember the positions it has searched, so a bigger hash table will slightly increase the engine's strength.
Just make sure that your computer has enough memory for the hash tables as well as any other
applications (programs) which are running (i.e. music in the background).
If you set the hash table size too high, the operating system will start using the hard drive,
which you definitely want to avoid. If you're not sure, choose a small value.
If you choose to big number for your hash table it can slow down the engine.
Tip: A good hash table size is usually the your computer's RAM divided by 4.
Click OK and...
Enjoy your chess analysis!
|
|
|